

Struggling to record vocals at home that actually sound professional? Whether you're tracking vocals for music production, podcasting, or voice-over work, getting clean, studio-quality sound from a home recording setup can feel impossible.
Those frustrating problems, such as room echo, background noise, and muddy-sounding vocals, stop here. This guide breaks down professional vocal recording into simple, practical steps you can follow in any home studio setup.
You'll learn exactly how to:
- Set up your recording space (even in a small room)
- Choose the right microphone for your voice and budget
- Position your mic for the cleanest possible sound
- Create a professional recording chain
- Capture vocals that need minimal editing
Let's turn your space into a real recording environment that gets results.
What Do You Need to Record Vocals at Home?
Must Have Equipment for Recording
Before you start recording, you'll need some basic gear. Think of these items as the building blocks of your home studio. Each piece plays an important role in capturing your voice clearly.
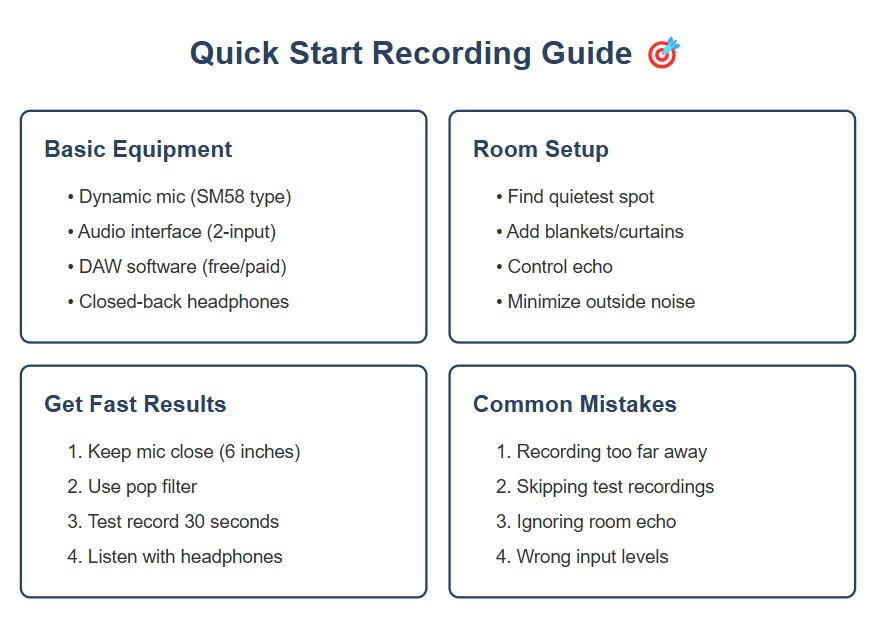
Here's what makes up a basic recording setup:
- A good microphone to capture your voice (like the Shure SM58 for beginners).
- An audio interface to connect your mic to your computer.
- Recording software (called a DAW) to capture and edit your vocals.
- Headphones to hear yourself while recording.
- A pop filter to clean up your recordings.
- A sturdy mic stand to hold everything in place.
Let's break down why each piece matters. Your microphone is like a camera for sound — it needs to be good quality to capture all the details of your voice. The audio interface works as a translator, turning your voice into digital information your computer can understand.
Your recording software is like a digital notebook where you'll store and edit your vocals. Good headphones are crucial because they let you hear exactly what you're recording without any sound leaking back into the mic.
Setting Up Your Recording Chain:
Setting Up Your Space
Now let's talk about where you'll record. Your room plays a huge role in how your recordings will sound. Even the best microphone won't help if your room makes everything echo.
Start by picking the right spot in your room. Here's what to look for:
- A quiet area away from noisy appliances
- A space where you can control outside noise
- A room with some soft furniture or curtains
- An area where you can move around comfortably
After choosing your spot, think about room noise. Things you might not notice normally become very obvious in recordings. That humming computer fan? Your mic will pick it up. Air conditioning? That too. Even your phone buzzing on the table can ruin a perfect take.
Here's how to set up your recording spot
First, set up your mic stand. Keep it away from walls — at least a few feet if you can. This helps avoid that boomy sound you get when recording too close to walls.
Next, position your computer. Keep it as far from the mic as your cables allow. If you can't move it far, try putting something soft between the computer and mic to block fan noise.
Your audio interface should be easy to reach. You'll need to adjust recording levels, so keep those control knobs within arm's reach.
Common Room Problems and Solutions:
- Echo bouncing off walls? Hang up blankets or put up acoustic panels.
- Rumbling from outside? Record during quiet hours.
- Computer noise in your mic? Move it farther away or use longer cables.
- Floor vibrations? Use a shock mount on your mic stand.
Think about where sound bounces in your room. Clap your hands and listen — hear any echo? Those reflections will show up in your recordings. Add some soft materials like blankets or pillows where you hear the most echo.
You don't need perfect silence or fancy acoustic treatment to get good recordings. Focus on controlling the space right around your mic. That's where it matters most.
This basic setup will get you started with vocal recording. In the next sections, we'll dig deeper into choosing the right mic and getting it set up perfectly for your voice.
How to Create Your Home Recording Space
Room Acoustics Made Simple
Let's make your room sound better for recording. Sound bounces around rooms like a tennis ball, and we need to control these bounces to get clean recordings.
Think of sound waves like ripples in a pond: when they hit hard surfaces, they bounce back and create messy echoes. Too many echoes make your vocals sound like they were recorded in a bathroom — not what we want!
Three main things affect how your room sounds:
- Hard surfaces that reflect sound (windows, bare walls, hardwood floors).
- Room shape and size.
- Furniture and other objects that absorb sound.
Easy Acoustic Treatment Tips
You don't need expensive foam panels to start recording. Here's how to use what you have:
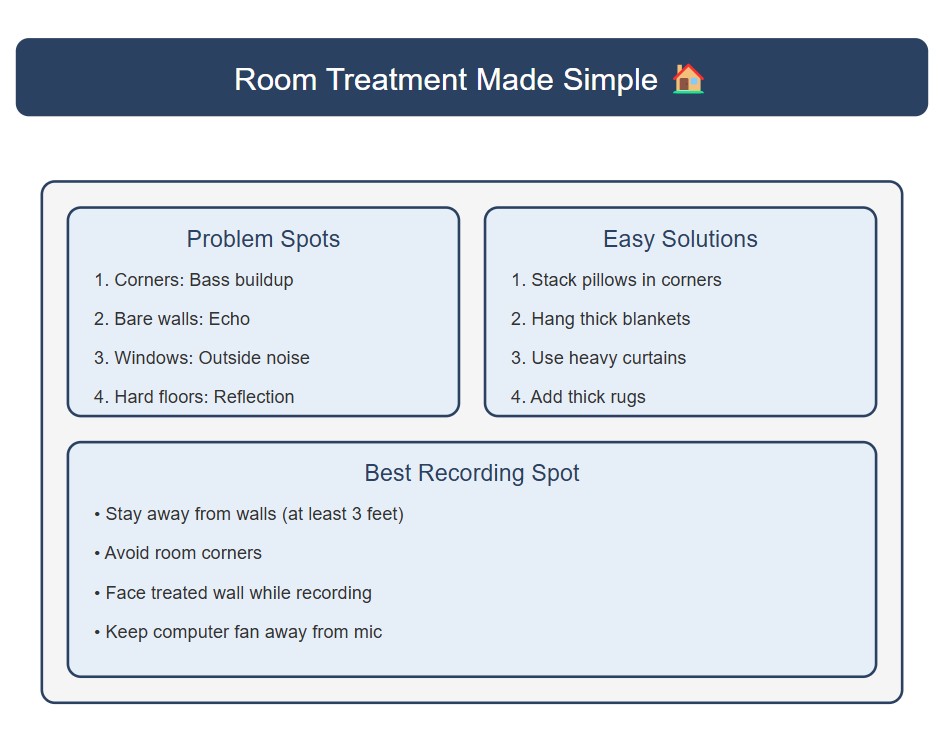
- Start with your recording corner.
- Put a thick blanket or duvet on the wall behind your mic. This stops sound from bouncing right back into your recording.
- Next, check these common problem spots:
- Nearby windows - hang heavy curtains
- Bare floors - lay down thick rugs or carpets
- Empty walls - add bookshelves or hang tapestries
- Corners - stack pillows or put a bass trap
A quick test: Record yourself counting to five in your room. Listen back with headphones. Hear any echo or hollow sound? Add more soft materials where needed.
How to Choose Your Recording Microphone
Finding the Right Mic for Your Voice
Picking a microphone is like choosing a camera lens — different types work better for different voices.
Three main types of mics for vocal recording:
Dynamic Mics
- Tough and reliable
- Handle loud voices well
- Less sensitive to room noise
- Perfect for beginners (like the Shure SM58)
Condenser Mics
- Capture more detail
- Great for quiet, detailed singing
- Need phantom power from your interface
- Pick up more room noise
Ribbon Mics
- Smooth, natural sound
- Very fragile
- Usually expensive
- Best for experienced users
Condenser vs Dynamic Mics: A Difference
Let's compare these two popular types in detail:
Dynamic mics are like a sturdy pickup truck — reliable and gets the job done. They use simple technology that's been proven over decades of use.
Good points:
- Can take a beating
- Work well in noisy rooms
- No extra power needed
- Usually cheaper
Not so good:
- Miss some high frequencies
- Might sound less "open"
- Need more gain (volume boost)
Condenser mics: These are like a high-end sports car - more powerful but need more care. They capture every little detail in your voice.
Good points:
- Catch all the details
- Great for soft singing
- Clear, crisp sound
- Wide frequency range
Not so good:
- Show all room problems
- Need phantom power
- More expensive
- Can be fragile
Microphone Comparison Chart:
How to Get Your Mic Placement Right
Distance and Position Tips
Getting your mic in the right spot makes a huge difference in sound quality. Here are some basic rules for mic position:
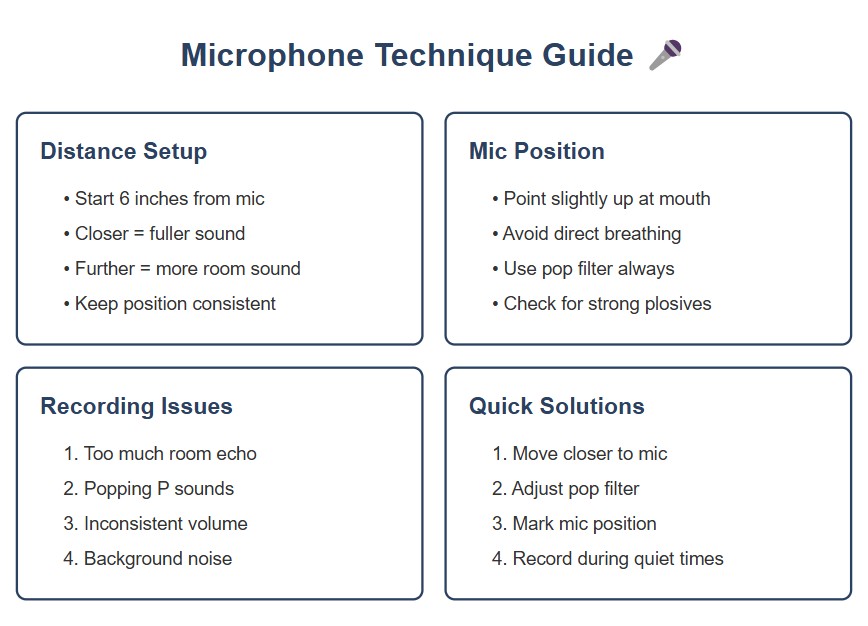
Distance from your mouth:
- Start about 6 inches away
- Move closer for a fuller sound
- Back up if you're too loud
Angle:
- Point the mic slightly up toward your mouth
- Avoid speaking directly into it
- Keep your head level while singing
Your voice changes at different distances from the mic. This is called the proximity effect — getting closer makes your voice sound bigger and warmer.
Using Pop Filters Effectively
Pop filters might look simple, but they're crucial for clean recordings. They stop those explosive "p" and "b" sounds (called plosives) from hitting your mic too hard.
Pop filter is basically an umbrella for your mic. Just like an umbrella blocks rain, a pop filter blocks bursts of air from your mouth that can ruin a recording.
Here's where to place your pop filter:
- About 2-3 inches from your microphone
- Centered in front of the mic capsule
- Angled slightly if needed
The space between your pop filter and mic matters a lot. Too close, and it won't work well. Too far, and you might as well not use one.
Common pop filter materials:
- Nylon mesh (most common)
- Metal mesh (more durable)
- Foam covers (portable option)
Each type works differently. Nylon gives you great protection but might dull some high frequencies. Metal keeps more detail but costs more. Foam works well for basic needs but might need replacing more often.
How to Set Up Your Recording Chain
Audio Interface Setup
Your audio interface is the bridge between your mic and computer. Getting it set up right makes a huge difference in your sound quality.
First, let's understand what your interface does. It takes the signal from your mic and converts it into digital information your computer can use. But it also does some important things along the way:
- Provides phantom power for condenser mics
- Boosts your mic signal to the right level
- Converts analog sound to digital
A few tips to set up your interface properly:
- Connect your interface to power and your computer
- Install any needed drivers
- Plug in your mic with an XLR cable
- Turn on phantom power if using a condenser mic
Take a moment to check your computer's sound settings. Make sure your interface is selected as both the input and output device because this prevents audio routing problems that could mess up your recording.
Getting the Perfect Headphone Mix
Good monitoring while recording is super important. You need to hear yourself clearly without any distracting delay.
Setting up your headphone mix is pretty straightforward:
- Plug your headphones into your interface.
- Set the monitoring level (start around 50%).
- Find a comfortable balance between your voice and any backing tracks.
Your headphone mix can affect how you perform. Too loud, and you'll sing too softly. Too quiet, and you might strain your voice. Take time to find the right balance.
Pro Recording Techniques
Recording with Compression
Ever notice how your vocals jump from quiet to loud while recording? That's where compression comes in. Think of compression like a smart volume control that tames the loud parts of your voice while keeping the quiet parts clear.
Most audio interfaces include built-in compression. Using it while recording (called tracking compression) can help catch those sudden loud moments that might distort your audio. Here's how to set it up:
Quick Guide to tracking compression:
- Ratio: Start with 2:1 or 3:1 (this means for every 2 or 3 dB over your threshold, the output only increases by 1 dB)
- Threshold: Set it so your loudest vocals trigger -6 dB of gain reduction
- Attack: 10ms lets the natural start of words through
- Release: 100ms helps your voice sound natural between phrases
Watch your interface's meter while singing. You want the compression to work only on the loudest parts - maybe reducing 3-6 dB at most. If you see the meter constantly moving, your compression is too heavy.
Common compression mistakes to fix:
- Setting the threshold too low (makes your voice sound unnatural)
- Using too much compression (causes breathing sounds to pop out)
- Attack time too fast (cuts off the punch of your words)
- Release time too slow (makes your voice sound pumpy)
Here's a simple way to test your settings:
- Sing a verse with no compression.
- Add compression with the settings above.
- Compare both recordings.
- If compressed vocals sound choked or unnatural, ease up on the ratio or raise the threshold.
Tracking compression is about safety, not style. You're just catching peaks that could ruin your take. Save the heavy compression effects for mixing — you can't undo too much compression once it's recorded, but you can always add more later.
Managing Takes and Double Tracking
Recording multiple takes of your vocals is standard practice. It gives you options when putting together your final performance.
Here's a smart way to organize your takes:
- Create a clear naming system for your files.
- Keep notes about each take.
- Mark your best performances right away.
- Save everything until the project is done.
Sometimes you'll want to double track your vocals (recording the same part twice). This can make your vocals sound bigger and fuller. The trick is to perform each take as similarly as possible while still being slightly different.
Making Your Performance Count
Create the Right Environment
The physical and mental aspects of recording are just as important as the technical stuff. Creating the right environment helps you perform your best.
Temperature makes a big difference for vocalists. A room that's too cold can tighten your vocal cords, while too much heat can leave you dehydrated. Keep your recording space at a comfortable temperature, usually between 68-72°F.
Basic comfort checklist:
- A glass of room temperature water nearby
- Good lighting to read lyrics
- A comfortable place to sit between takes
- Fresh air circulation without fan noise
Your physical comfort directly affects your performance. Take breaks every 30-45 minutes to keep your voice fresh and maintain your energy level.
Recording Session Tips
Before you hit that record button, here's how to set yourself up for success.
Warm up your voice first. A simple 5-10 minute vocal warmup makes a huge difference in your recording quality. Your voice will be more stable and you'll nail your takes faster.
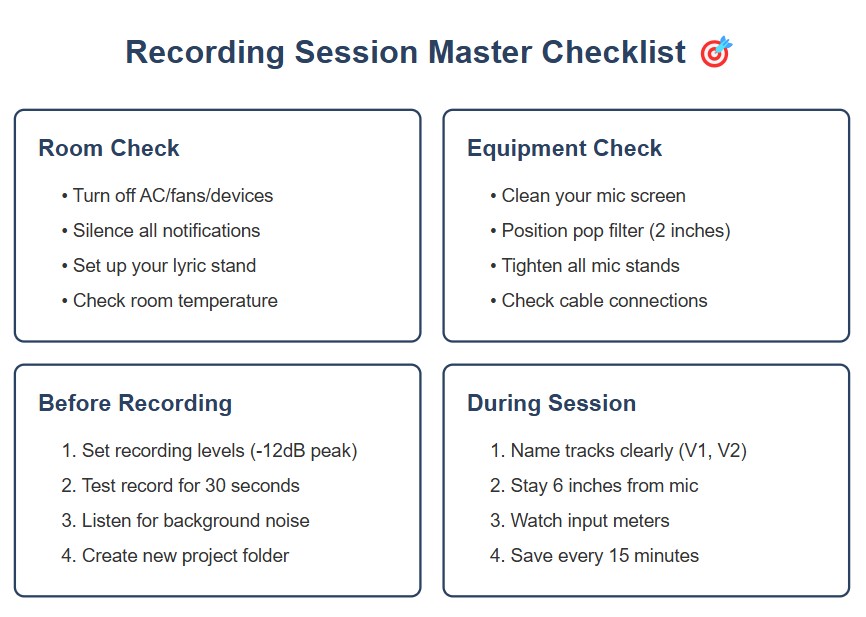
Here's a smart way to structure your recording session:
- Start with a quick test recording
- Listen back on headphones
- Adjust your levels if needed
- Record 2-3 full takes before reviewing
Many beginners make the mistake of stopping after every tiny error. Instead, keep going and finish the take. You might find that small mistakes aren't as noticeable as you thought, and you'll keep a better flow in your performance.
Common Recording Problems Solved
Fixing Room Echo
Room echo is one of the biggest challenges in home recording. Here's how to tackle it systematically.
First, identify where the echo is coming from. Stand in your recording spot and clap once. Listen for:
- How long the echo lasts
- Which directions it comes from
- How many distinct reflections you hear
Now you can target those specific problem areas. Think of sound like a bouncing ball — it hits the walls and comes back. The trick is to catch that ball before it bounces back to your mic.
Quick fixes for common echo problems:
- Hang moving blankets on problem walls
- Put rugs or carpet on hardwood floors
- Fill empty corners with soft furniture
- Use portable vocal shields behind your mic
Some echo is normal in any room. You just want to reduce it enough that it doesn't interfere with your recording.

Getting Rid of Background Noise
Background noise can sneak into your recordings in surprising ways. Let's tackle the most common culprits.
Start by listening to your room without making any sound. You might notice:
- Computer fan noise
- Air conditioning hum
- Outside traffic
- Electrical buzzing
Each type of noise needs a different solution. Here's how to handle the most common ones:
Computer noise is usually easy to fix. Simply:
- Move your computer farther from the mic
- Put a sound barrier between them
- Use longer cables to increase distance
For air conditioning noise, try recording in shorter sessions between cooling cycles. If that's not possible, a noise gate in your recording software can help cut out the noise between vocal phrases.
What to Do After Recording
Managing Your Takes
Now that you've recorded your vocals, let's organize them properly. Good organization saves tons of time when you're ready to mix.
Create a simple system for naming your takes:
- Include the song name
- Add the take number
- Note any special qualities
A good naming example would be "SongName_Lead_Take3_FullEnergy" or "SongName_Verse2_Take1_Clean."
Keep track of your best takes right away. While the performance is fresh in your mind, make quick notes about:
- Which takes had the best energy
- Where specific parts really worked
- Any spots that need another take
- Technical issues to fix later
Getting Ready for Mixing
Before you start mixing, take these important steps to prepare your vocals.
First, back up your recordings. Make at least two copies:
- One on your main recording drive
- Another on a separate backup drive
Then, organize your takes into clear groups:
- Main vocals
- Backing vocals
- Doubles
- Alternative versions
This organization makes mixing much easier. You won't waste time hunting for that perfect take you know you recorded somewhere.
A clean, well-organized recording session makes mixing much easier. Take time to label and organize your files now, and you'll thank yourself later.


